


Experience the nostalgia of childhood gaming with just your phone and a few simple steps. If you’ve ever longed to relive those hours spent immersed in Mario adventures or classic NES titles, this guide will walk you through the process of setting up vintage Nintendo games on your Android device. All you need is a smartphone running Android, a stable internet connection, and a bit of curiosity. With the right tools, you can enjoy your favorite retro games anytime, anywhere, bringing the past into the present.
—
Step 1: Prepare Your Android Smartphone and Visit a Reliable ROM Site
Begin by grabbing your Android phone. For demonstration, I am using a Samsung Galaxy Stratosphere 2 with Android Jelly Bean 4.1.2, but the process is similar across most Android devices. Open your preferred web browser—Google Chrome, Firefox, or others—and navigate to a reputable site that hosts ROMs and emulators, such as CoolRom. This website offers a variety of emulators and game files that are essential for playing retro titles legally and safely.
Before proceeding, ensure your device has enough storage space and a stable internet connection to download the necessary files. Always be cautious to use legitimate sources to avoid security risks. For more comprehensive insights into the legal aspects and safe downloading practices, consider reviewing tutorials on content creation and how to make a successful game dev blog.
—
Step 2: Download an Emulator Suitable for Your Device
To run old Nintendo games on your Android, you need an emulator—software that mimics the original gaming console’s hardware. From the homepage, tap on the Emulators section to expand the menu. Then select For Android to see options compatible with your device.
Look for emulators specifically designed for NES or Nintendo entertainment system games. Popular choices include John NES or similar apps available on the Google Play Store. Emulators act as virtual consoles, translating game ROMs into playable formats on your phone. Be sure to choose reputable emulators to ensure smooth gameplay and security.
—
Step 3: Select and Install Your Chosen Emulator
Once you’ve found the emulator you want, tap on its link to be redirected to the Google Play Store. Here, tap the Install button to download and install the app onto your device. After installation completes, tap Open to launch the emulator.
When you first open the emulator, it might scan your device for existing games, but since you haven’t added any yet, it will likely display an empty list. This is normal; you’re about to add your favorite titles. For guidance on where to start with game development or to learn about the basics, check out the starting line where to start in game dev.
—
Step 4: Find and Download Your Favorite Retro Games
Navigate back to your web browser and revisit the ROM website. Use the search bar at the top of the page to find specific titles—such as “Super Mario Bros.” Enter your chosen game title and tap the search icon.
Keep in mind that downloading ROMs for games you do not own is illegal; this tutorial is intended for educational and personal use only. Once your search results appear, filter them by selecting the Nintendo system to narrow down the options. Tap on the top result for “Super Mario Bros” or your preferred game.
On the game’s page, locate the Download button and tap it. The ROM file will be saved to your device’s Downloads folder or specified location. For additional tips on effective content creation in the gaming community, see content creation and how to make a successful game dev blog.
—
Step 5: Launch and Play Your Favorite Game
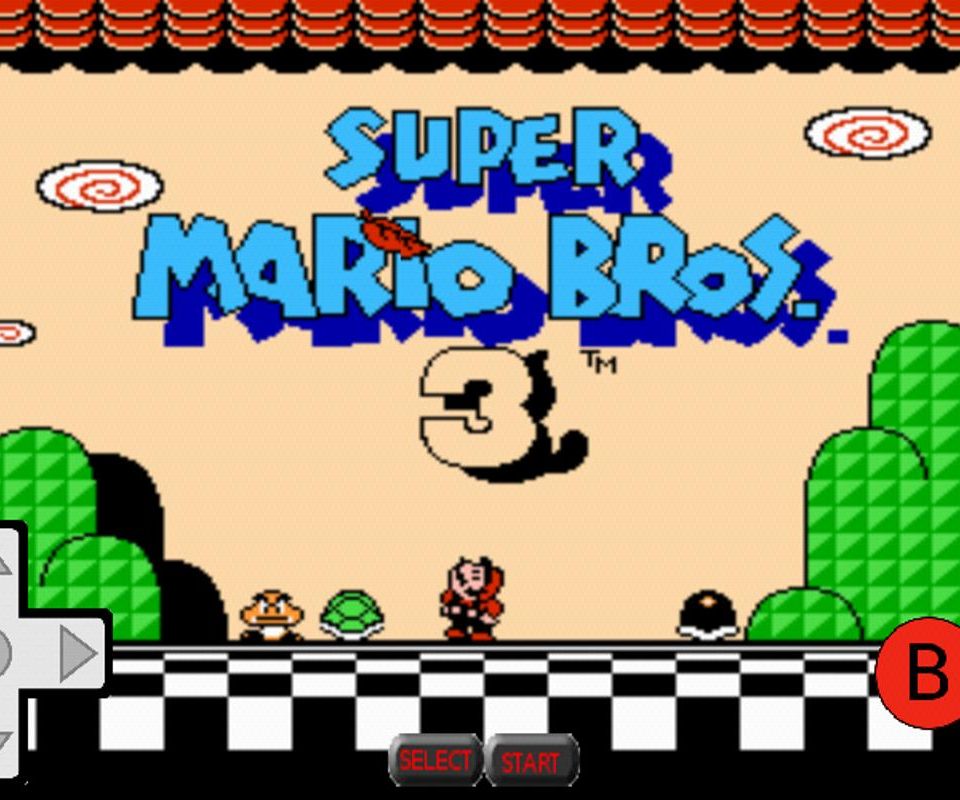
Open your installed emulator from the app drawer—look for the icon you tapped earlier. The emulator will scan your device for available ROMs and display a list of games ready to play. Tap on the title of the game you just downloaded, such as “Super Mario Bros.” to start playing.
Control the game using the on-screen buttons, which are designed to resemble an NES controller for an authentic experience. Enjoy reliving those classic moments from your childhood. Remember, exploring the history of game development can deepen your appreciation, so consider reading about diversity in tech this is what a game dev looks like.
—
Step 6: Continue Exploring and Expanding Your Collection
Now that you’re set up, you can explore more games from different eras and genres. Regularly visit trusted ROM sites to add new titles to your collection. Keep your emulator updated and stay informed about best practices in digital gaming. For those interested in the behind-the-scenes of game creation, learning about the process of content development is beneficial, as discussed in content creation and how to make a successful game dev blog.
—
Final Thoughts
Playing Nintendo games on your Android device is a fantastic way to reconnect with your gaming roots. With a bit of setup and responsible usage, you can enjoy timeless classics without the need for original hardware. Whether you’re a seasoned developer or an enthusiastic gamer, understanding the tools and legal considerations involved enhances your experience. For more detailed insights on game development, visit unlocking the hacker game dev story guide.
Enjoy your journey into retro gaming and keep exploring the rich history of video games!